Gold foil, embossing, spot UV, die-cutting — which printing technique should you choose for your custom red packets? This guide compares every major finishing technique with cost, effect, and best use cases.
Why Printing Technique Matters
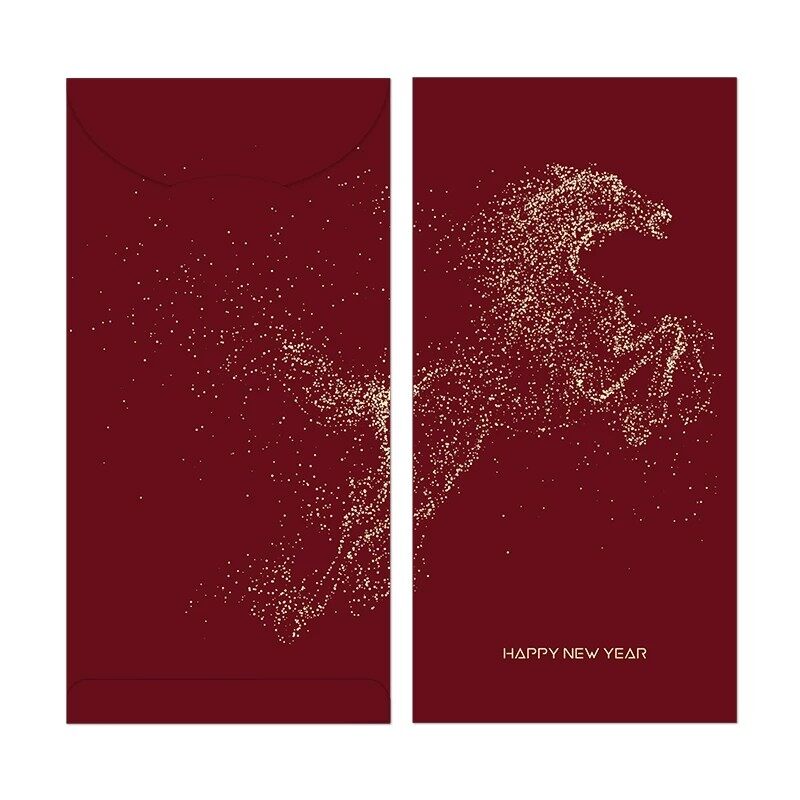
The base design of your custom red packets sets the foundation — but the printing technique is what transforms a flat piece of paper into a tactile, premium experience. The right finishing technique can make a $0.05 packet look like a $0.50 luxury item.
This guide compares every major printing and finishing technique used in custom red packet production, so you can make informed decisions for your next order.
The 6 Key Printing Techniques for Red Packets
1. Hot Foil Stamping
What it is: A metallic foil (gold, silver, rose gold, holographic) is heat-pressed onto the paper surface using a custom metal die.
Visual effect: Bright, reflective metallic areas that catch light and immediately signal luxury
Best uses: Logos, text, border patterns, decorative elements
Pros: Maximum visual impact, photogenic, universally associated with premium quality
Cons: Higher cost than standard printing, requires custom die ($30–$80 per design)
Cost impact: Adds $0.02–$0.05 per piece depending on foil coverage area
Color options: Gold, silver, rose gold, copper, holographic, red gold, green gold
2. Embossing / Debossing
What it is: A metal die presses into the paper from behind (emboss = raised) or from the front (deboss = recessed), creating a three-dimensional texture.
Visual effect: Subtle, sophisticated raised or recessed areas that invite touch
Best uses: Logos, patterns, Chinese characters, border designs
Pros: Creates tactile experience, adds perceived value, works with or without foil
Cons: Requires custom die, less visible from a distance
Cost impact: Adds $0.02–$0.04 per piece
Pro tip: Combine embossing + foil stamping ("foil emboss") for maximum impact — the foil sits on the raised surface for a stunning 3D metallic effect
3. UV Spot Coating
What it is: A clear, high-gloss coating is applied to specific areas of the design, creating a contrast between glossy spots and the matte background.
Visual effect: Selective shine that draws attention to specific elements while keeping the overall design sophisticated
Best uses: Logos, pattern highlights, text emphasis, decorative elements
Pros: Subtle elegance, lower cost than foil, works on any color background
Cons: Less dramatic than foil, effect is mainly visible at certain angles
Cost impact: Adds $0.01–$0.03 per piece
4. Lamination (Matte / Gloss / Soft-Touch)
What it is: A thin plastic film is applied over the entire printed surface for protection and finish.
Visual effect:
Matte lamination: Smooth, non-reflective, sophisticated — the most popular choice for premium red packets
Gloss lamination: Shiny, vibrant color enhancement — ideal for colorful festival designs
Soft-touch lamination: Velvety, suede-like feel — the ultimate luxury option
Pros: Protects print from scratching and moisture, enhances perceived quality
Cons: Not eco-friendly (plastic film); paper recyclability is reduced
Cost impact: Adds $0.01–$0.03 per piece
5. Die-Cutting
What it is: A custom steel-rule die cuts the paper into non-rectangular shapes or creates window cutouts.
Visual effect: Unique shapes that stand out from standard rectangular packets — circles, scalloped edges, logo silhouettes, window reveals
Best uses: Premium editions, creative campaigns, brand differentiation
Pros: Maximum differentiation, memorable, great for photography and social media
Cons: Custom die cost ($50–$150), slightly longer production time
Cost impact: Adds $0.02–$0.05 per piece
6. Edge Gilding
What it is: The cut edges of the red packet are coated with metallic paint (usually gold or silver) for a luxurious finish on all sides.
Visual effect: Every edge gleams with metallic color — visible when the packet is held at any angle
Best uses: Ultra-luxury presentations, executive gifts, limited edition packets
Pros: 360-degree luxury impression, extremely premium, unique in the market
Cons: Highest cost among finishing options, longer production time
Cost impact: Adds $0.05–$0.10 per piece
Comparison Table: Which Technique to Choose
Technique | Visual Impact | Cost | Best For |
|---|---|---|---|
Hot Foil Stamping | ★★★★★ | $$ | Logos, premium events |
Embossing / Debossing | ★★★★ | $$ | Tactile luxury, sophistication |
UV Spot Coating | ★★★ | $ | Subtle elegance, budgets |
Lamination | ★★★ | $ | Protection, base finish |
Die-Cutting | ★★★★★ | $$$ | Creative differentiation |
Edge Gilding | ★★★★★ | $$$$ | Ultra-luxury editions |
Recommended Combinations
Best Value Combo: Matte lamination + gold foil stamping on logo — premium look at moderate cost
Ultimate Luxury: Pearl paper + foil emboss + edge gilding — the gold standard for executive gifts
Modern Elegant: Soft-touch lamination + spot UV on pattern — subtle, sophisticated, Instagram-worthy
Creative Standout: Custom die-cut shape + foil + lamination — maximum shelf impact
Budget-Friendly Premium: Gloss lamination + spot UV — looks premium without foil cost
How to Decide
Who is the recipient? VIP clients → invest in foil + emboss. Mass audience → lamination + spot UV
What's the occasion? Traditional festival → gold foil is essential. Modern event → spot UV or soft-touch
What's your per-unit budget? Under $0.10 → lamination + spot UV. $0.10–$0.20 → add foil. $0.20+ → go all-in with edge gilding
Will it be photographed? If recipients will share on social media, invest in foil or die-cut for maximum visual impact
Need help choosing the right combination for your project? Aorai Pack provides free consultation and physical sample sets showing every technique side by side. Request yours today.